The crucial aspect of any product design process is that it is cyclical: you begin by identifying the problem; next, you solve the problem, then you validate the solution; finally, you loop back to the beginning and start over. Successful products typically pass through multiple cycles, and many are on a continuous development loop.
Different processes suit different projects and different circumstances. A revolutionary product may require substantially more research in the initial phases than a product innovating within a crowded field. In any case, a tried-and-tested structure can guide the product towards an ideal outcome.
How to Start Designing a Product
The place to start with any project is to ask yourself exactly why you’re undertaking the task. Is it to improve brand recognition? To enable greater accessibility? To introduce a new feature? To grow your customer base or reduce churn? Or just to make more money?
Regardless of your motivation, what matters is that you understand the ‘why’ of the task. You’ll come back to this time and time again when making decisions.
It is always tempting to inflate the scale of projects and solve multiple problems at once. However, that approach tends to dilute your solutions; a more effective method is precisely the opposite: to scale down, simplify the task, and use the following process to focus on individual problems. You will then have a successful platform to build upon when developing future versions.
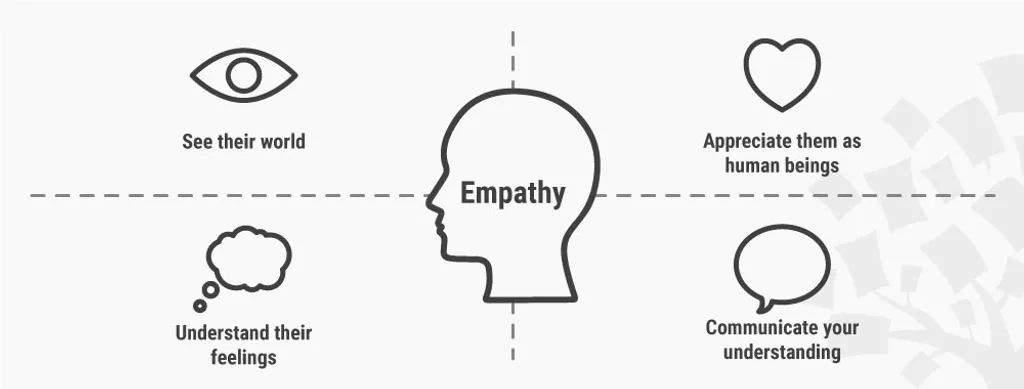
Step 1: Empathise
The first step in the product design process is to empathize with your users.
Henry Ford allegedly said that if he’d asked people what they wanted, they’d have said faster horses. What Ford misses here is that it’s not your customer’s role to tell you what they want; it’s your job to discover it. To find out what our customers want, we need to deep-dive into user research.

Stakeholder Input
Too many companies skip this stage, but stakeholders are often immersed in their industry and have numerous invaluable insights. Stakeholders should always be consulted at an early stage.
However, it’s important to note that stakeholders are rarely objective, and part of a designer’s job is to honestly evaluate the assumptions they’ve made by comparing them to other research.
User Research
Qualitative research, such as user interviews, allows you to dig deep into an individual’s pain points. Quantitative research such as split testing will enable you to gain a broader perspective.
The most valuable research is carried out in the field, in real-life situations, when the test subject is unaware of the test. However, this kind of research is notoriously difficult to manage, and if the overall product is at an early stage may be impossible to arrange at all.
Often, the most practical research is semi-structured, with an in-person test varying the guidance depending on the test subject’s experience. In this case, it’s essential to keep detailed records of the level of assistance required — which can be instructive in itself.
User Analysis
Regardless of how you devise user research, it is meaningless if taken at face value. Once you’ve gathered data through user research, the next step is to analyze your data.
Analyzing data involves identifying themes that occur across different sources of research. The more a theme emerges, the more attention it warrants. For instance, if half of your test users struggled using the app in bright sunlight, then you have an accessibility problem.
Analyzing user research will rarely result in a single problem. More often, you’ll identify groups of related issues.
User Personas
User personas are a controversial area of the product design process. A user persona is a fictional representation of a typical member of a particular demographic that helps structure user analysis data into actionable plans. The problem with user personas is that they almost always confirm the biases of the designer who creates them.
Whether you opt to use personas or not will largely depend on the type of project you’re working on. For example, if you’re designing an app for families, then personas might help you group tasks logically. On the other hand, if you’re creating an app for public transport, the user base will be too broad for a handful of personas to be helpful.
Step 2: Define The Problem
Armed with comprehensive user research and analysis, it’s possible to identify core issues and begin transforming them into opportunities.
At this stage, being selective in your language is important. To avoid pre-emptive solutions, frame problems in terms of a question. For example, “How can we encourage users to disclose critical data?” or “How can we assist users in transitioning from our competitor?”
It’s important to note that identifying a problem does not necessarily mean there’s something wrong with your product. It may be a problem a user experiences outside of your product; it may be an opportunity in the market.
The key is to identify a single problem. If you identify multiple problems, then silo them and investigate them individually.
Step 3: Ideation
Ideation is the point at which you can start getting creative. Record as many ideas as possible. As a general rule, you shouldn’t edit yourself at this stage; explore as much as possible.
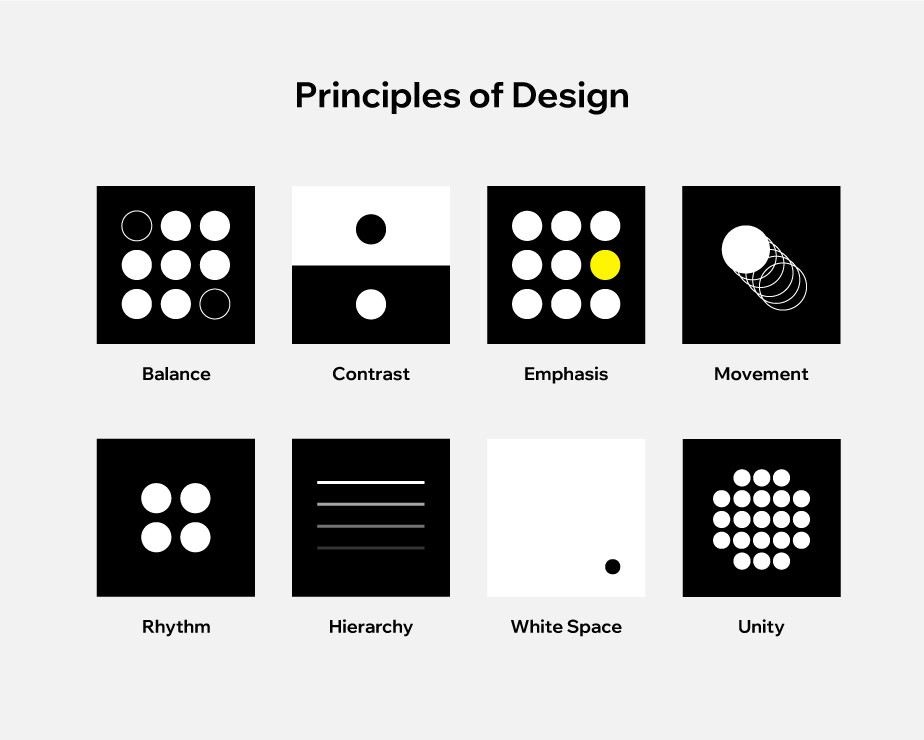
Design Principles
In many cases, there will be an existing design principles document cataloging a client’s required approach. There may be a specific design language or style guide that is preferred.
Design principles create boundaries that help you refine ideas into realistic approaches. For example, if being inclusive is part of your product’s fundamental values, focusing on concepts that promote inclusivity is a great way to prioritize.
Competitor Research

User research helps you define a problem; competitor research can help identify profitable solutions.
The goal here is not to plagiarise another designer’s work but rather to draw inspiration from their approach. Look carefully at design patterns, feature shortcuts, and their published reviews for hints at what your own users might respond well to.
User Tasks
Defining probable user tasks is an excellent way to consider the final user experience. Use the format “When…I want to…So I can.” For instance, “When I commute to work…I want to avoid traffic…so I can arrive on time and be productive.”
Journey Maps
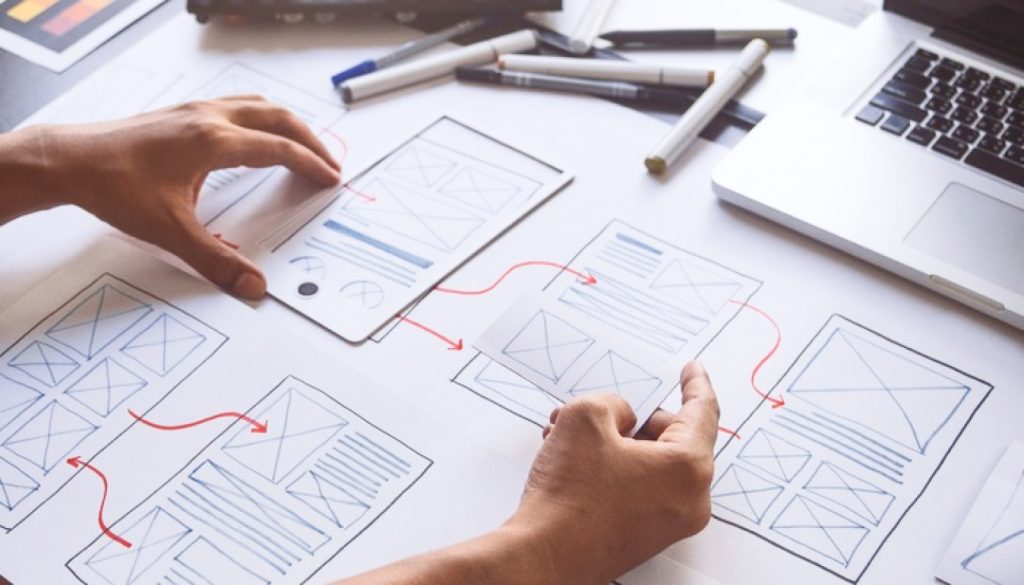
A journey map is a path your user will need to take to complete their tasks. When you’re developing ideas, sketch out how this might look.
The benefit of journey mapping is that it keeps your ideas anchored in your actual project. For example, without journey mapping, it’s easy to forget that most apps need users to sign in to complete a task.
User journeys should have a task, a motivation, and a context.
Step 4: Prototyping
Once you’ve identified a potential solution, the next goal is to validate it quickly with a minimum investment of time and money. To this end, we use prototyping to mock up a solution for testing.
A prototype doesn’t need to integrate with the rest of your system, it doesn’t need production-level security, and speed can be overlooked. A prototype is solely for testing.
There are numerous design apps available that allow you to create a prototype quickly, but in many cases, a prototype can be made with pencil and paper. The objective is to mock up a solution that can be placed in front of a user and operated without extensive guidance.
Your goal is to maximize the amount you can learn while minimizing the work involved.

Step 5: Validate the Solution
Solution testing is the most critical part of the process. At this stage, you will learn whether your proposed solution actually delivers for the user and the client.
Numerous testing methods are available, but they boil down to moderated vs. unmoderated.
In a moderated test, a member of your team guides a test subject, answering questions and steering them in the right direction. In an unmoderated test, a user is asked to complete a task using your prototype with no guidance.
A moderated test is usually the best choice for early-life products, where relatively few features have already been tested.
If practical, an unmoderated test delivers more natural results — in most cases, a user engaging with your final product in the real world will not have a designer leaning over their shoulder guiding them. However, unmoderated tests can easily stall if the product is not sufficiently complete.
Step 6: Production
When you’re immersed in an iterative workflow, it’s easy to overlook actually releasing a product.
Often, you will find yourself looping back to an earlier step in the process to refine a solution. However, once your testing demonstrates that you’ve arrived at an effective solution to your defined problem, then build a production version of your product.
Depending on the nature of the product and the stage of its lifecycle, you may or may not have pre-existing design assets or production code. Now is the time to create or adapt them based on your validated solution.
Step 7: Rinse and Repeat
Product design is rarely a linear process. Often in the course of validating solutions, you will develop greater empathy and a more refined understanding of the core problem.
When this happens, take a step back in the cycle. Revisit the early stages as many times as necessary. Skip backward in the process as often as needed, but only move forward one step at a time: Defining a problem precedes finding a solution; finding a solution precedes validating the solution. It is perilously easy to distort a problem to fit an attractive solution, but those types of development are never profitable over the long term.
The reality is that you’ll never stop revising your product. It’s essential to evaluate the success of your design, and in the process of doing so, you’ll uncover fresh opportunities to which the same methodology can be applied.
